“1M4 Time (I)” Learning-Teaching-Assessment Package
Possible problems in students’ learning (for reference only)
- Students may mistake long hand for hour hand and short hand for minute hand.
- Students may not be familiar with tell time in terms of o’clock.
- Students may not be familiar with using “half past” to describe time.
| Name | Learning Objectives | Description | Problem addressed (see above) | Suggested duration (minutes) | Available for self-learning? |
|---|---|---|---|---|---|
Powerpoint (1)
 |
1. Introduce ‘hour’. 2. Tell time in terms of o’clock. |
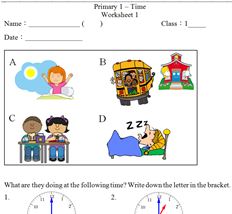
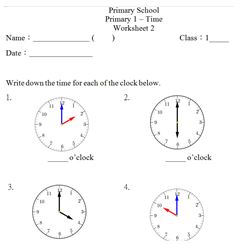
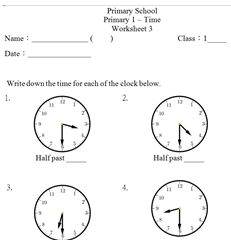
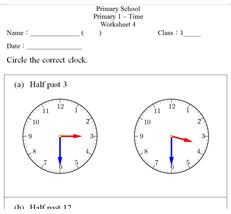
This Learning-Teaching-Assessment Package includes Powerpoints, video clip and worksheets. It helps to build the concept of “o’clock” and “half past” through observing the movement of hour hand and minute hand. This package emphasises the position of hour hand at the time of “half past”. |  |
30 |  |
Powerpoint (2)
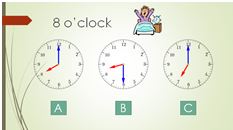 |
1. Introduce ‘hour’. 2. Tell time in terms of o’clock. |


|
30 |  |
|
Powerpoint (3)
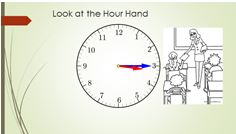 |
1. Introduce ‘hour’. 2. Tell time in terms of o’clock. |


|
30 |  |
|
Powerpoint (4)
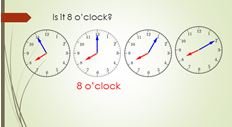 |
1. Introduce ‘hour’. 2. Tell time in terms of o’clock. |


|
15 |  |
|
Powerpoint (5)
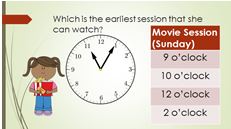 |
1. Introduce ‘hour’. 2. Tell time in terms of o’clock. |


|
30 |  |
|
Clock Video Clip (1 hour)
 |
1. Introduce ‘hour’. 2. Tell time in terms of o’clock. |


|
5 |  |
|
Worksheet 1 (Powerpoint 1)
 |
1. Introduce ‘hour’. 2. Tell time in terms of o’clock. |

|
15 |  |
|
Worksheet 2 (Powerpoint 2)
 |
1. Introduce ‘hour’. 2. Tell time in terms of o’clock. |


|
15 |  |
|
Worksheet 3 (Powerpoint 3)
 |
1. Introduce ‘hour’. 2. Tell time in terms of o’clock. |


|
15 |  |
|
Worksheet 4 (Powerpoint 4)
 |
1. Introduce ‘hour’. 2. Tell time in terms of o’clock. |


|
15 |  |
|
Extended Worksheet 1 (o’clock)
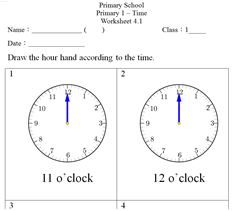 |
1. Introduce ‘hour’. 2. Tell time in terms of o’clock. |


|
15 |  |
|
Extended Worksheet 2 (half past)
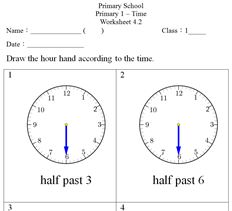 |
1. Introduce ‘hour’. 2. Tell time in terms of o’clock. |


|
15 |  |
“2M4 Weight” Learning-Teaching-Assessment Package
Possible problems in students’ learning (for reference only)
- Students are unfamiliar with using “balance” to weight objects.
- Students cannot read the scale on “pounds” accurately.
- Students cannot convert “grams” to “kilograms” and vice versa.
| Name | Learning Objectives | Description | Problem addressed (see above) | Suggested duration (minutes) | Available for self-learning? |
|---|---|---|---|---|---|
Teaching materials introduction
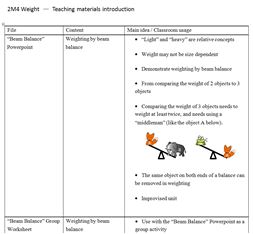 |
 |
This Learning-Teaching-Assessment Package includes teaching materials introduction, Powerpoints, Geogebra file and worksheets. It helps to build the concepts of using beam balance and weighting scale, and explore the conversion between gram and kilogram. A Powerpoint of revising the addition of 4-digit numbers is supplemented in this Package for reference. |
 |
 |
 |
“Beam Balance” powerpoint
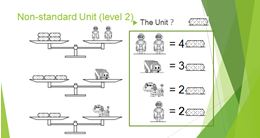 |
1. Compare the weights of objects directly. 2. Measure and compare the weights of objects using improvised units. |
 |
30 |  |
|
“Weighting Scale” powerpoint
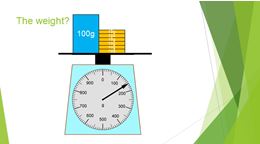 |
1. Measure and compare the weights of objects using ‘gram’(g) and ‘kilogram’(kg). |  |
60 |  |
|
“4-digit” number powerpoint
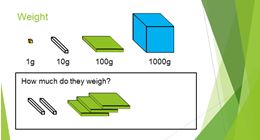 |
1. Measure and compare the weights of objects using ‘gram’(g) and ‘kilogram’(kg). |  |
15 |  |
|
“Gram and Kilogram” Powerpoint
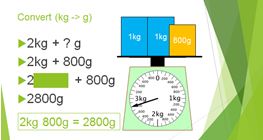 |
1. Measure and compare the weights of objects using ‘gram’(g) and ‘kilogram’(kg). |
  |
30 |  |
|
“Weighting Scale” Geogebra file
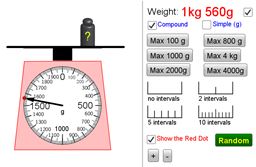 |
1. Measure and compare the weights of objects using ‘gram’(g) and ‘kilogram’(kg). |
  |
30 |  |
|
“Beam Balance” Worksheet
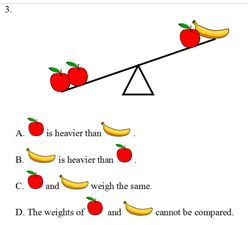 |
1. Compare the weights of objects directly. 2. Measure and compare the weights of objects using improvised units. |
 |
15 |  |
|
“Beam Balance” Group Worksheet
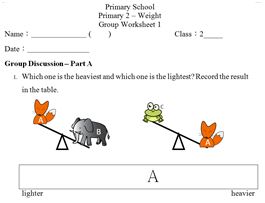 |
1. Compare the weights of objects directly. 2. Measure and compare the weights of objects using improvised units. |
 |
30 |  |
“3S1 Parallel and Perpendicular” Learning-Teaching-Assessment Package
Possible problems in students’ learning (for reference only)
- Students may mistake parallel lines as horizontal lines and perpendicular lines as vertical lines
- Students may not be familiar with identifying parallel lines and perpendicular lines in figures.
- Students may not be familiar with the techniques of drawing parallel lines and perpendicular lines.
| Name | Learning Objectives | Description | Problem addressed (see above) | Suggested duration (minutes) | Available for self-learning? |
|---|---|---|---|---|---|
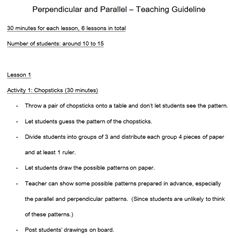
Teaching Guideline
 |
 |
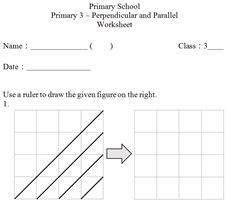
This Learning-Teaching-Assessment Package includes Powerpoints, video clips and Geogebra files. It helps to build the techniques of drawing parallel and perpendicular lines on grid. Working sheets consolidate their knowledge. |  |
 |
 |
Circles in Figure Powerpoint
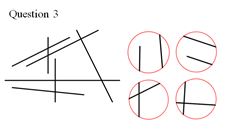 |
1. Recognize parallel lines. 2. Recognize perpendicular lines. |
  |
30 |  |
|
How to draw on Grid Powerpoint
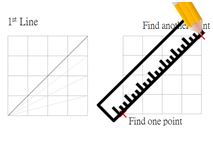 |
1. Make parallel lines in a variety of ways. 2. Make perpendicular lines in a variety of ways. |
 |
30 |  |
|
Forming parallel lines by folding
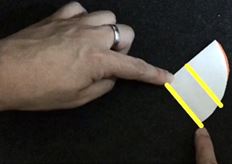 |
1. Make parallel lines in a variety of ways. |  |
10 |  |
|
Forming perpendicular lines by folding
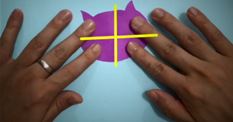 |
1. Make perpendicular lines in a variety of ways. |  |
10 |  |
|
Circles in Figure Geogebra files
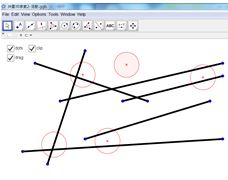 |
1. Recognize parallel lines. 2. Recognize perpendicular lines. |
  |
15 |  |
|
Drawing on Grid Worksheet
 |
1. Recognize parallel lines. 2. Recognize perpendicular lines. |
  |
15 |  |
|
Circles in Figure Worksheet
 |
1. Recognize parallel lines. 2. Recognize perpendicular lines. |
  |
15 |  |
快將推出
快將推出
